Organize Your Painting Space – How to Paint Walls and Ceilings Without Interruptions

Organize Your Painting Space – How to Paint Walls and Ceilings Without Interruptions
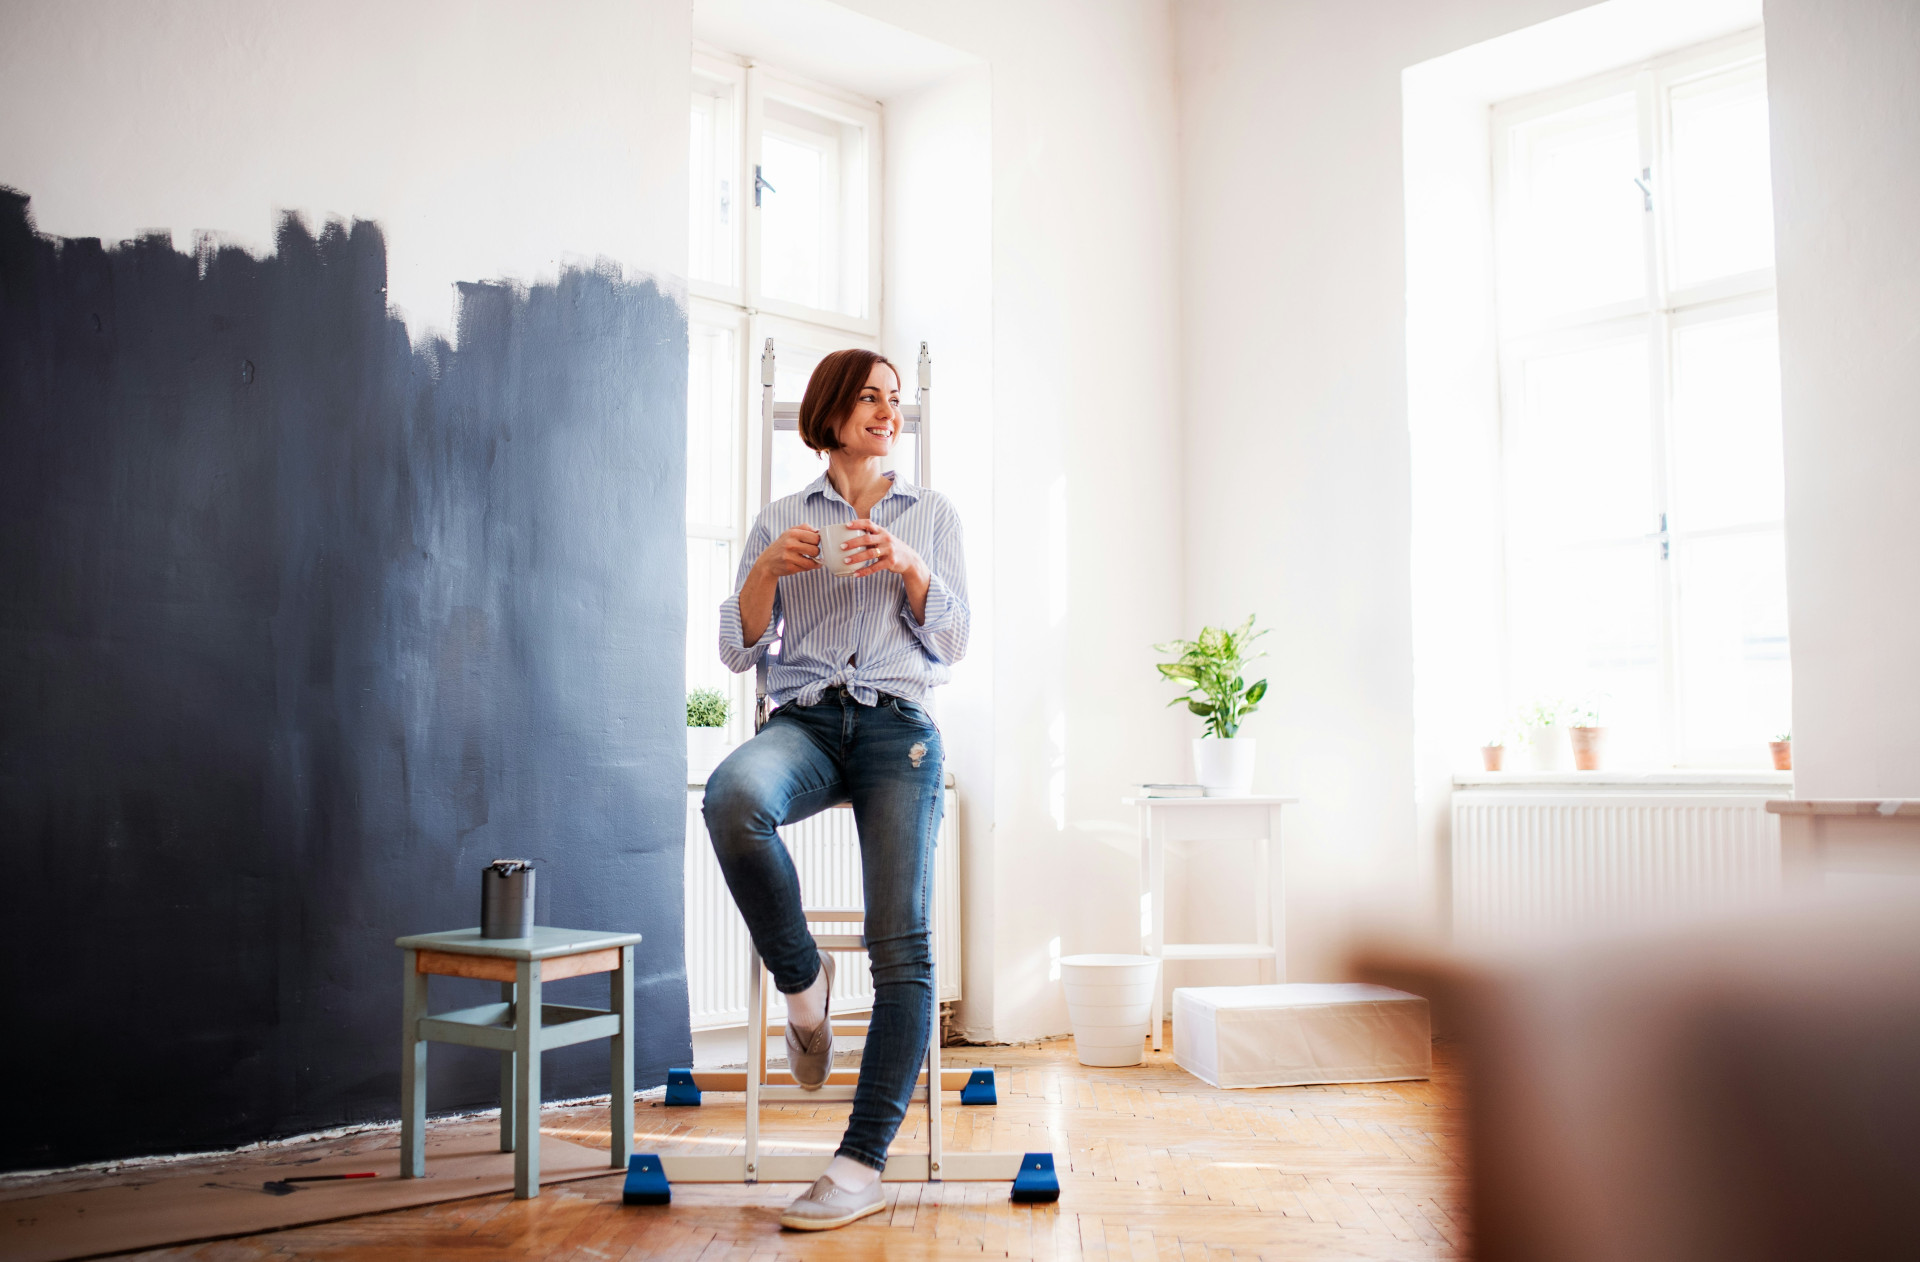
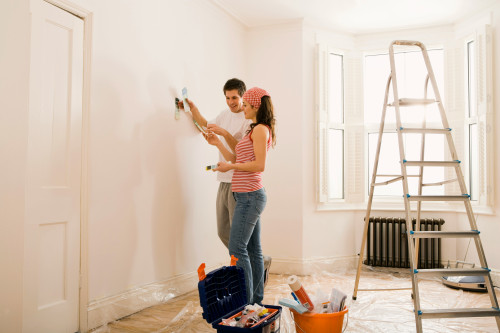
A well-organized painting space is the secret to a smooth, efficient, and satisfying painting experience. Many DIY painters find themselves stopping mid-project to hunt for tools, clean up spills, or rearrange furniture. With a bit of planning, you can set up a workspace that keeps everything within reach and allows you to paint continuously without unnecessary breaks. Here’s a step-by-step guide to preparing and organizing your painting area so you can paint walls and ceilings without interruptions.
Clear and Prepare the Room
Before you even open a can of paint, make sure your workspace is ready. Clearing the room gives you freedom to move and helps prevent accidents or splatters on your belongings.
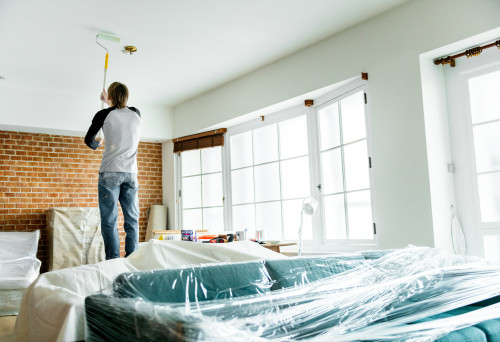
- Move furniture out of the room – or group it in the center and cover it with plastic sheeting or drop cloths.
- Remove wall décor, curtains, and light fixtures – so you can paint cleanly up to the edges.
- Clean the walls and ceiling – dust, grease, and cobwebs can prevent paint from adhering properly.
Once the room is cleared, you’ll have a better sense of how to move around and where to start painting.
Set Up a Practical Work Area
A well-organized setup keeps your tools close and your workflow steady. The fewer times you have to stop to find something, the faster and cleaner your project will go.
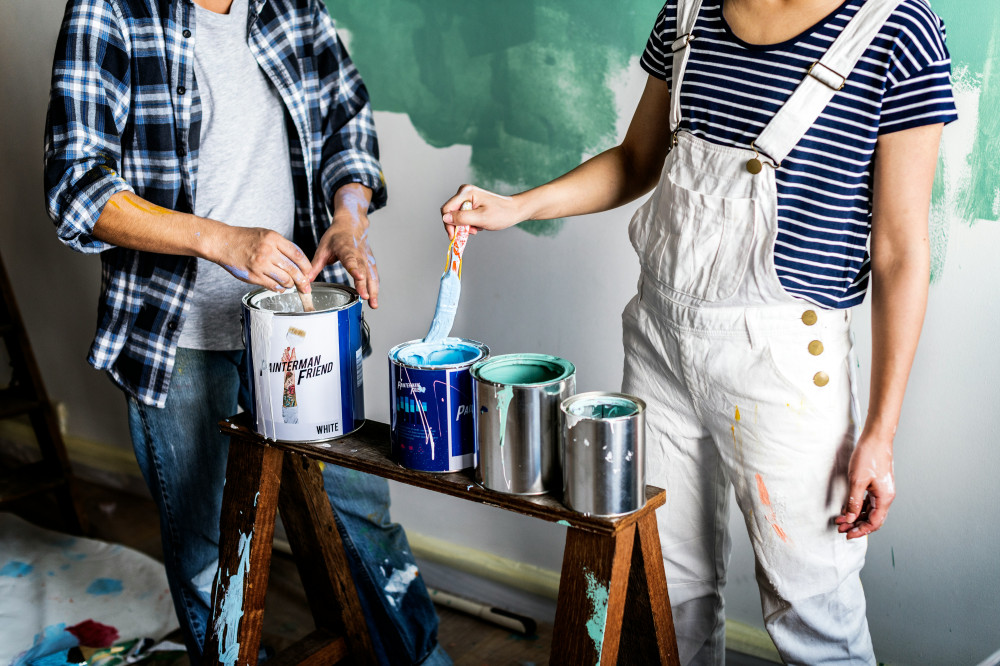
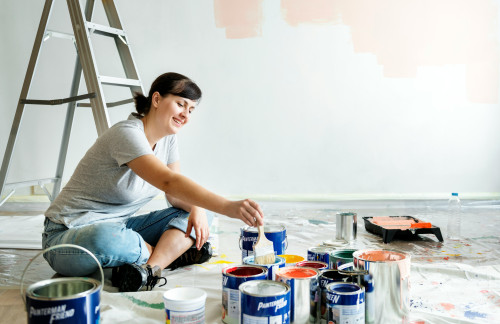
- Gather all your supplies in one place – brushes, rollers, trays, painter’s tape, rags, and paint cans.
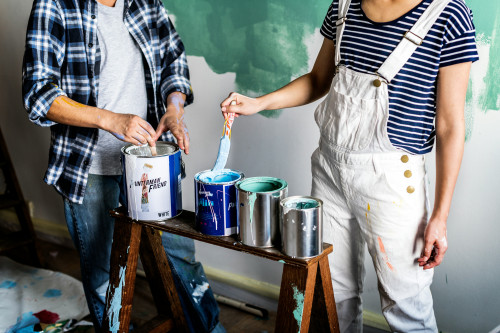
- Use a rolling cart or small table – so you can move your tools easily as you work around the room.
- Keep things tidy as you go – close paint lids when not in use and wipe up drips right away.
Having a mobile, organized station helps you stay focused and maintain a consistent rhythm, especially when painting both walls and ceilings.
Plan the Painting Order – From Ceiling to Walls
Painting in the right order prevents you from having to redo work. Always start with the ceiling and then move down to the walls.
- Paint the ceiling first – use an extension pole for your roller to minimize ladder use.
- Move on to the walls – start by cutting in edges and corners with a brush, then roll the larger areas.
- Work in sections – divide the wall into manageable areas to maintain a wet edge and avoid visible lines.
By following this sequence, you’ll save time and achieve a more professional finish.
Ensure Good Lighting and Ventilation
Lighting and airflow are often overlooked but make a big difference in both comfort and results. Proper lighting helps you see where you’ve painted, while ventilation keeps the air fresh and helps paint dry evenly.
- Add extra lighting – portable LED work lights are great for illuminating corners and ceilings.
- Open windows or use fans – to keep air circulating and reduce paint fumes.
- Avoid strong drafts – too much airflow can cause paint to dry unevenly or leave streaks.
A bright, well-ventilated space makes it easier to work for longer periods without fatigue.
Plan for Breaks and Cleanup
Even the most organized painter needs breaks, but plan them so you don’t lose momentum. Use drying times wisely to tidy up or prep for the next step.
- Wrap brushes and rollers in plastic – if you’ll use them again within a few hours.
- Clean tools thoroughly – especially when switching colors or paint types.
- Wipe up spills immediately – it’s much easier before the paint dries.
At the end of the day, clean and organize your tools so you can pick up right where you left off next time.
Læs også:
Create a Flow – and Enjoy the Process
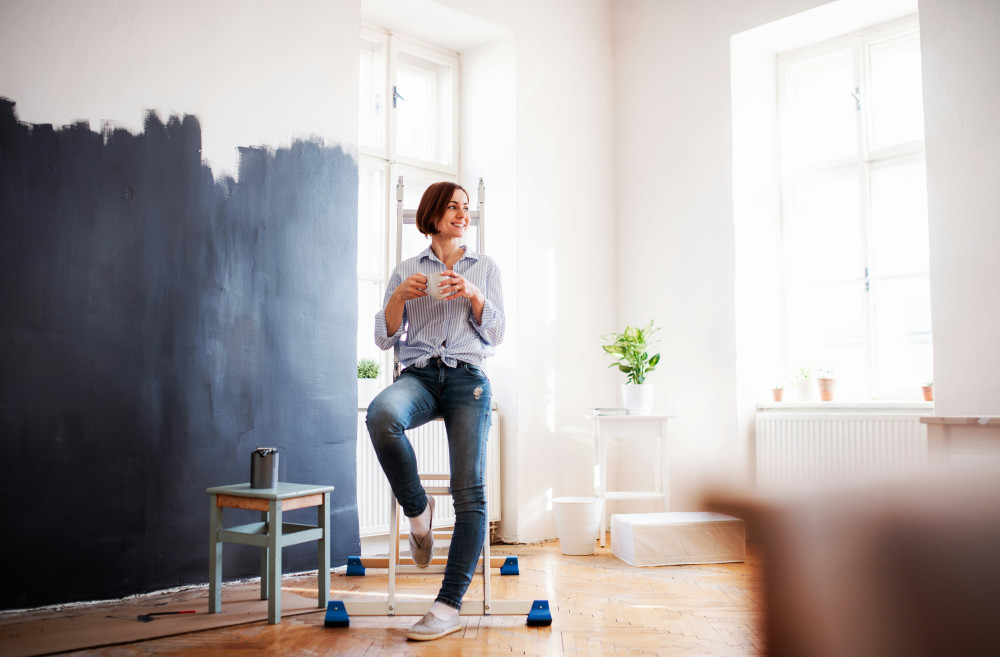
Painting isn’t just about the end result; it’s also about enjoying the transformation. When your space is organized, the process becomes calmer and more rewarding. You can move smoothly through the room, see your progress, and stay focused without distractions.
Put on some music, keep water and snacks nearby, and give yourself time to appreciate the change you’re creating. A well-organized painting space doesn’t just make the job easier—it makes it more enjoyable.
Læs også: