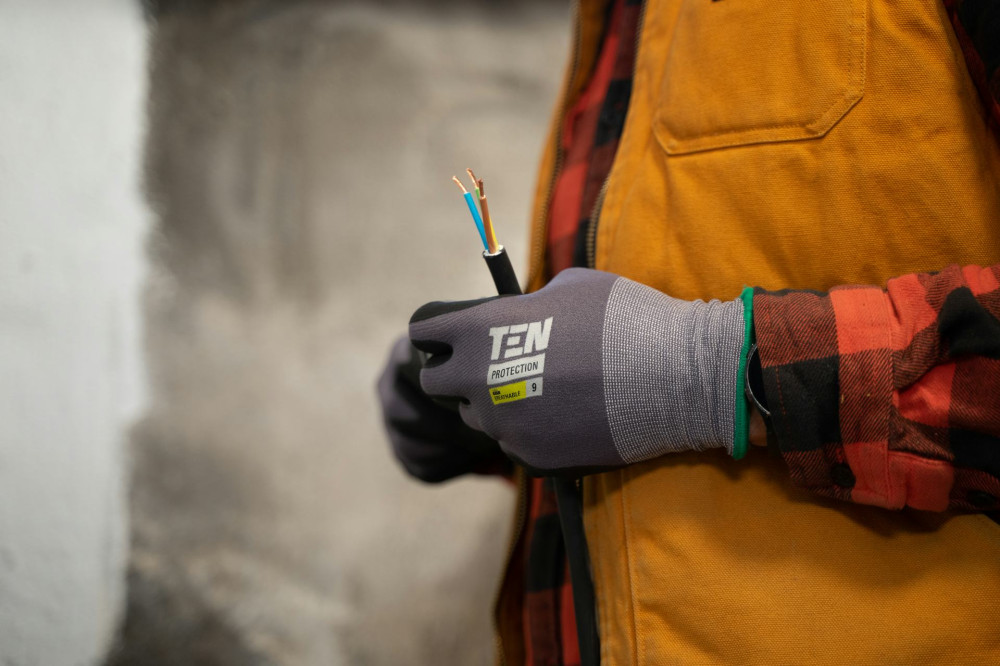
Organize Your Electrical Installations with Cable Trays and Clips

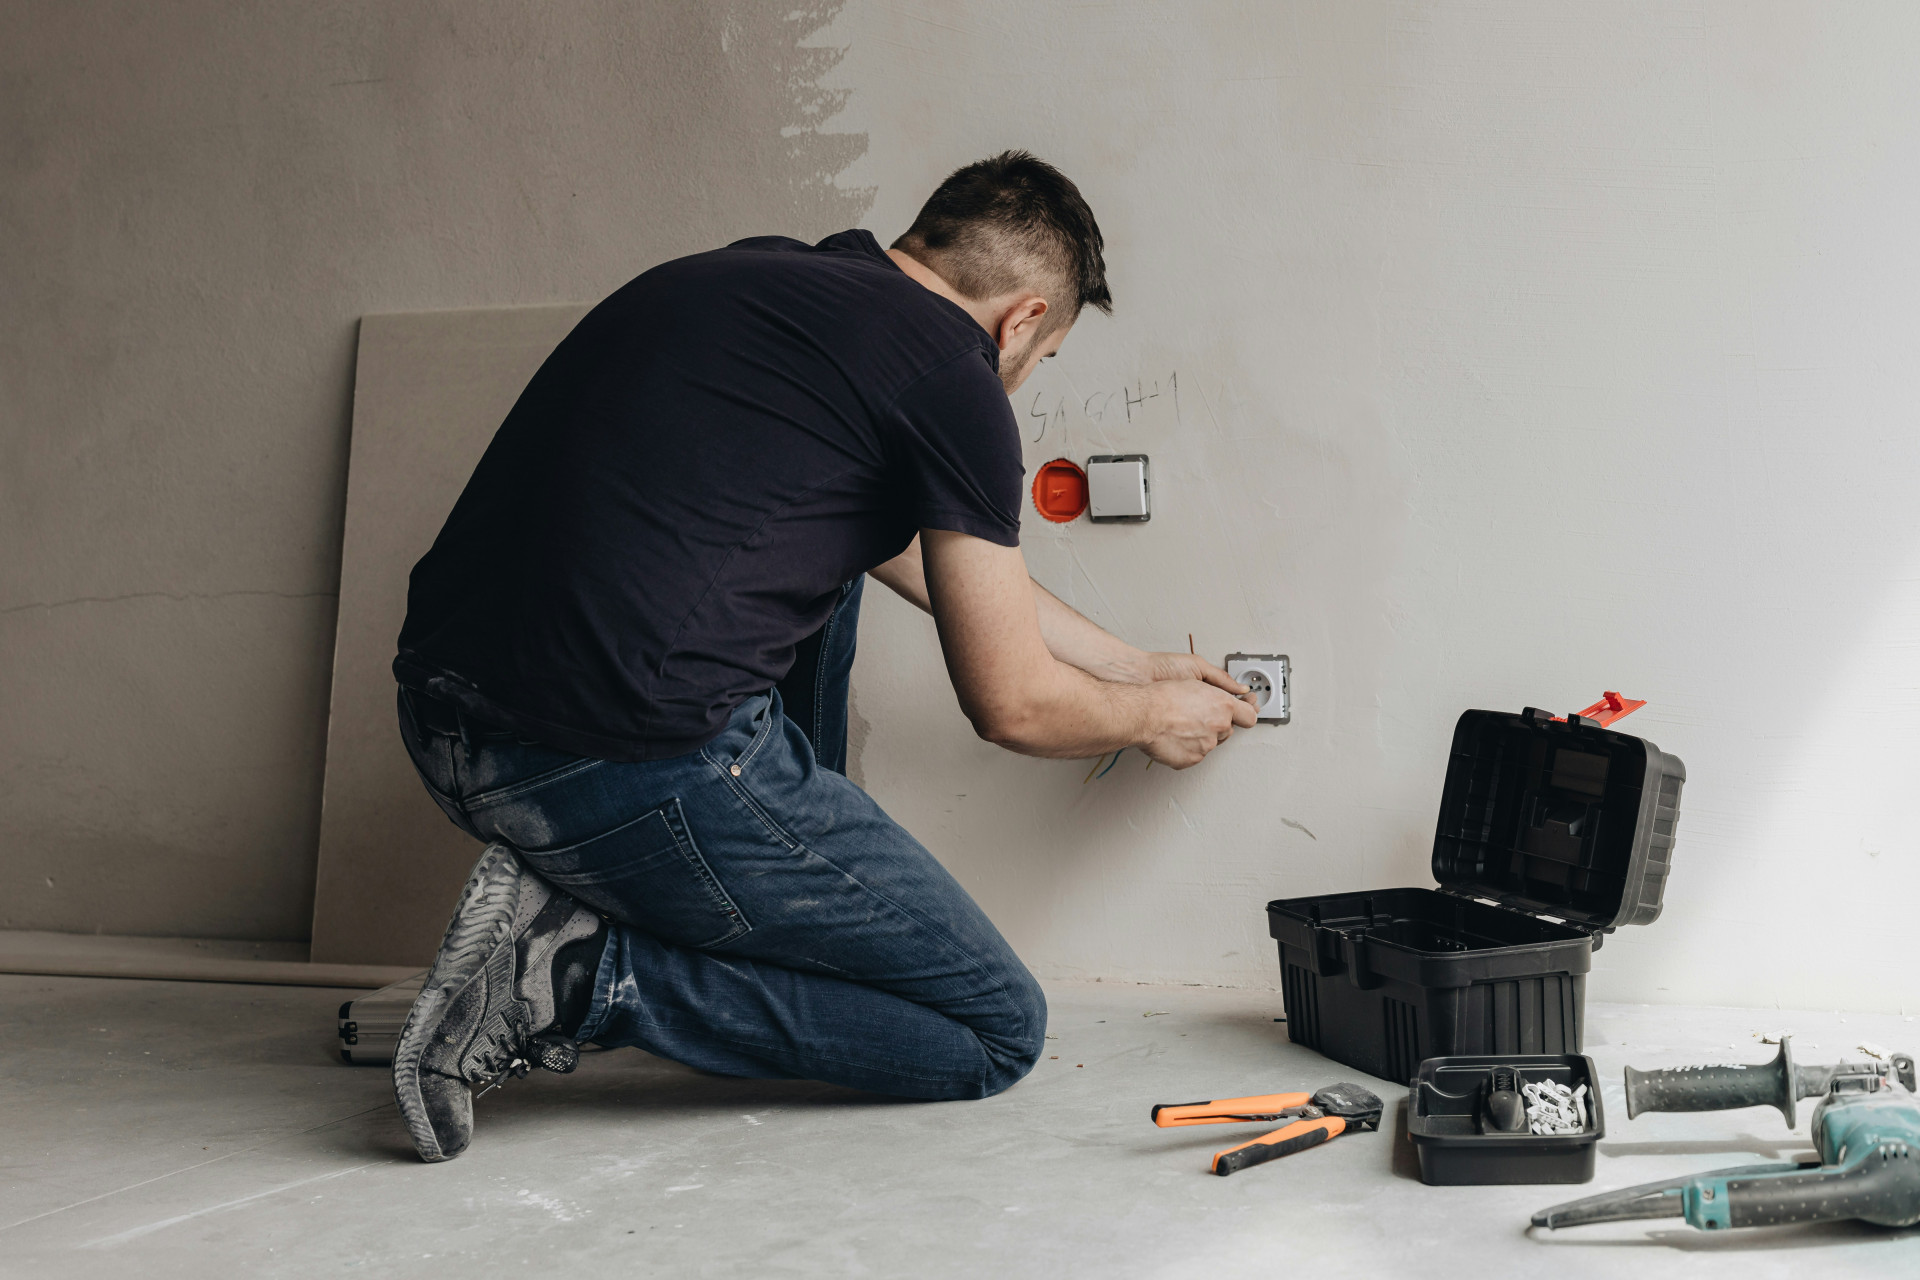
Organize Your Electrical Installations with Cable Trays and Clips
Tangled wires and loose cables can make even the most carefully planned electrical setup look messy—and worse, they can create safety hazards. Fortunately, there are simple ways to keep your wiring neat, protected, and easy to maintain. Cable trays and clips are two of the most effective tools for organizing electrical installations, whether you’re working in a home, office, or workshop.
Why Cable Organization Matters
A tidy cable system isn’t just about looks. When cables are left unorganized, they’re more likely to suffer from wear, bending, or even short circuits. It also becomes harder to trace or replace wires later on.
By properly routing and securing your cables, you’ll gain:
- Improved safety – cables are protected from mechanical damage and moisture.
- Easier maintenance – you can quickly identify where each cable runs.
- A cleaner appearance – especially in visible areas like offices, basements, or utility rooms.
Cable Trays – The Smart Solution for Multiple Cables
Cable trays are ideal when you need to route several cables along walls, ceilings, or under desks. They come in a variety of materials—plastic, aluminum, or galvanized steel—and in different sizes to suit your specific needs.
Benefits of Cable Trays
- Protect cables from dust, moisture, and physical impact.
- Offer flexibility – you can easily add or remove cables later.
- Create a professional look, especially in visible installations.
When installing cable trays, make sure they’re securely mounted with proper spacing between supports. Use corner pieces and covers for a uniform, enclosed appearance. In commercial or industrial settings, check that your trays meet National Electrical Code (NEC) requirements for load capacity and grounding.
Clips – The Simple Choice for Smaller Jobs
For smaller projects where only a few cables need to be secured, clips are often the best option. They come in many types—round, flat, nail-in, or screw-mounted—and can be used on walls, baseboards, or ceilings.
Tips for Using Cable Clips
- Choose clips that match the cable diameter exactly—too small can pinch the cable, too large won’t hold it firmly.
- Make sure cables are straight and not under tension before fastening.
- Space clips evenly (about 12–16 inches apart) for a neat, stable result.
Clips are especially useful for visible installations in living spaces, where you want a discreet and clean finish.
Combine Both for the Best Results
Often, the most effective setup combines both trays and clips. For example, you can run main cables in a tray and use clips for short runs to outlets, lights, or devices. This approach gives you both structure and flexibility.
If you’re managing multiple cables, consider labeling them with small tags or color codes. It makes future maintenance or upgrades much easier.
Safety and Regulations
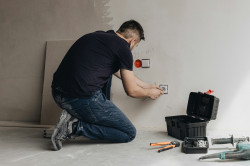
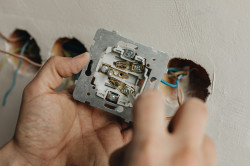
When working with electrical installations, it’s important to know what you can safely do yourself. Mounting cable trays and clips is typically fine for DIYers, but connecting or modifying fixed wiring should always be done by a licensed electrician. This ensures your installation meets local building codes and safety standards.
If you’re unsure, consult a professional—it can save you time, money, and potential hazards down the road.
Læs også:
A Small Effort with a Big Impact
Organizing your electrical installations doesn’t require major investment. With cable trays and clips, you can quickly bring order to your wiring, protect it from damage, and give your space a more polished look. It’s a simple upgrade that improves both safety and everyday convenience.
Læs også: