Insulate the Attic Knee Wall Without Removing All the Siding

Insulate the Attic Knee Wall Without Removing All the Siding
A poorly insulated attic knee wall can be one of the biggest sources of heat loss in older homes. Many houses built before modern energy codes have only a thin layer of insulation behind the sloped ceilings, allowing cold air to seep into the living space. The good news is that you can improve the insulation in this area without tearing off all the siding—if you plan the job carefully. Here’s a practical guide to doing it efficiently and safely.
What Is a Knee Wall—and Why Does It Matter?
A knee wall is the short, vertical wall that supports the rafters in a finished attic. Behind it lies a small triangular space between the sloped roof and the floor—often called the attic side of the knee wall. This area separates the conditioned living space from the unconditioned attic. If it’s poorly insulated or leaky, warm air escapes in winter and hot air seeps in during summer, leading to uncomfortable rooms and higher energy bills.
Properly insulating the knee wall and the space behind it is one of the most effective ways to improve your home’s energy efficiency—and it can often be done without removing all the exterior siding.
Inspect the Existing Conditions First
Before you start, take time to understand how your attic and knee wall are built. You can usually access the space through a small door or panel in the attic.
Check the following:
- Insulation condition and thickness – Is it compressed, missing, or damp?
- Air sealing – Are there gaps around electrical wires, plumbing, or framing joints?
- Ventilation – Are there soffit or ridge vents to allow moisture to escape?
If you’re unsure about what you’re seeing, consider having a home energy auditor or insulation contractor inspect the area before proceeding.
Læs også:
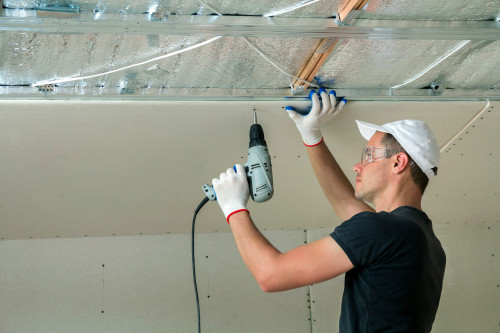
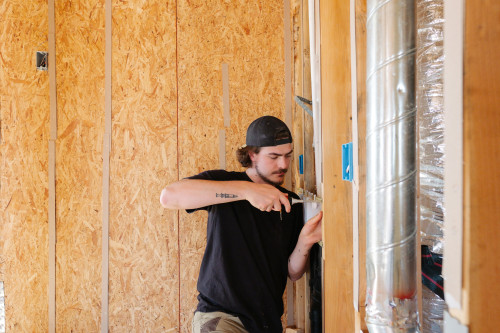
Methods to Add Insulation Without Removing All the Siding
There are several ways to improve insulation in the knee wall area depending on your access, the type of insulation you choose, and your comfort level with DIY work.
1. Blow-In Insulation
The least invasive method is to blow insulation into the wall cavity through small holes drilled in the drywall or sheathing. Cellulose, fiberglass, or mineral wool loose-fill can be used. A professional uses a blowing machine to fill the cavity evenly.
Advantages:
- No need to remove large sections of siding or drywall.
- Quick installation—often completed in a few hours.
- Fills gaps and irregular spaces, reducing air leaks.
Disadvantages:
- Requires specialized equipment and experience.
- Air sealing must be done first, or moisture problems can develop.
2. Insulate from the Attic Side
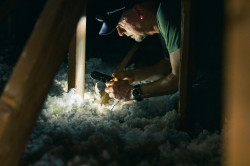
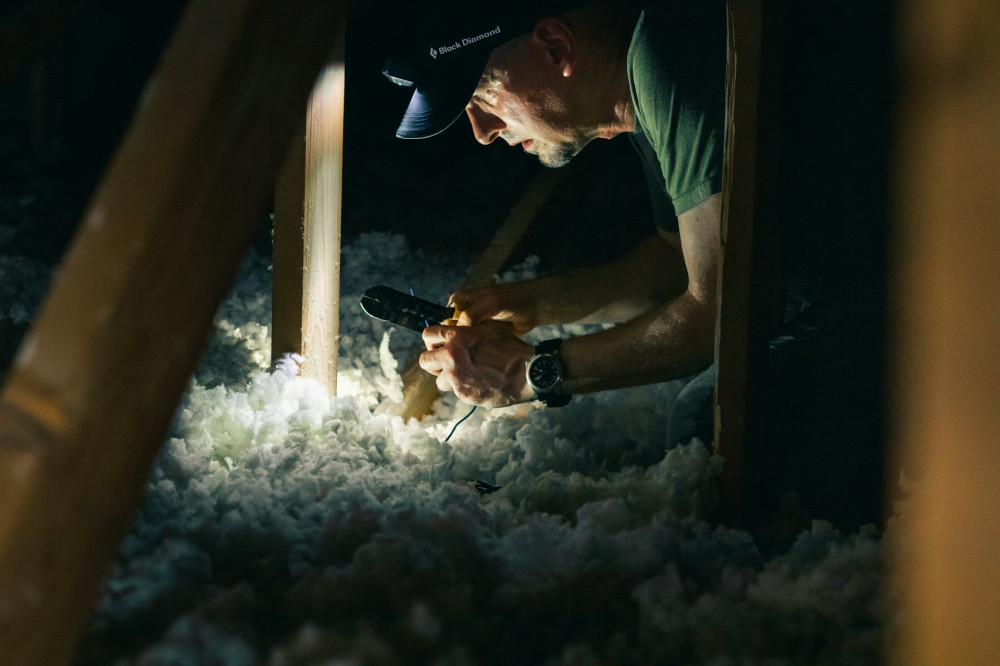
If you can access the back of the knee wall from the attic, you can add insulation from the attic side. Use fiberglass or mineral wool batts cut to fit snugly between the studs. Cover the insulation with rigid foam board or an air barrier to prevent air movement through the wall.
Tips:
- Don’t compress the insulation—it reduces its effectiveness.
- Seal all seams and edges with foam or tape to create a continuous air barrier.
- Maintain ventilation channels along the roof deck to prevent moisture buildup.
3. Combine Methods for Best Results
In many cases, the best approach is a combination: blow-in insulation for hard-to-reach cavities and batt or foam board insulation where you have access. This ensures a consistent thermal barrier without having to remove all the siding or interior finishes.
Pay Attention to Moisture and Ventilation
Adding insulation changes how your attic handles moisture. A good air seal on the warm side and proper ventilation on the cold side are essential to prevent mold and rot.
Make sure that:
- Soffit and ridge vents are open and unobstructed.
- The air barrier is continuous around electrical boxes and framing joints.
- The knee wall space is not used for storing items that could block airflow.
Consider Rebates and Energy Savings
Upgrading insulation in the attic knee wall can pay for itself quickly through lower heating and cooling costs. Many states and utilities offer rebates or tax credits for energy efficiency improvements. Check programs like ENERGY STAR® or your local utility’s website for available incentives.
A professional energy auditor can estimate your potential savings and help you qualify for rebates.
DIY or Hire a Pro?
If you’re comfortable working in tight spaces and have some building experience, you can handle parts of the job yourself—such as air sealing and installing batts. However, blowing in insulation or ensuring a continuous air barrier often requires professional tools and expertise. Mistakes in these areas can lead to moisture damage that costs more to fix than the insulation itself.
For most homeowners, hiring a certified insulation contractor is the safest and most efficient option. You’ll get proper installation, documentation, and peace of mind.
A More Comfortable, Energy-Efficient Home
Insulating the attic knee wall is a smart investment that improves comfort and reduces energy bills year-round. With the right approach, you can upgrade your home’s efficiency without tearing off all the siding. Careful planning, attention to air sealing, and proper ventilation will ensure lasting results.
Once the job is done, you’ll notice the difference right away—fewer drafts, more consistent temperatures, and a home that stays comfortable in every season.
Læs også: